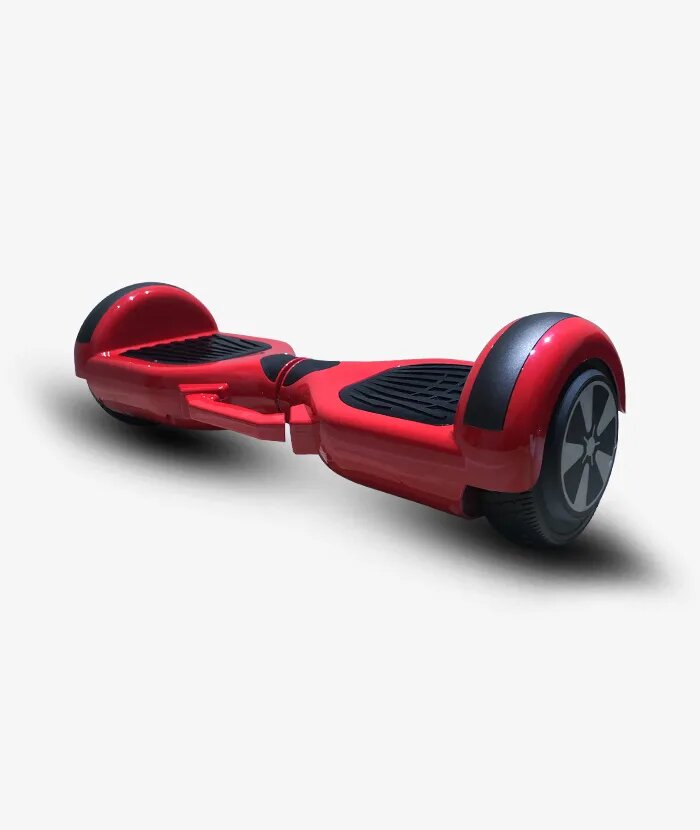
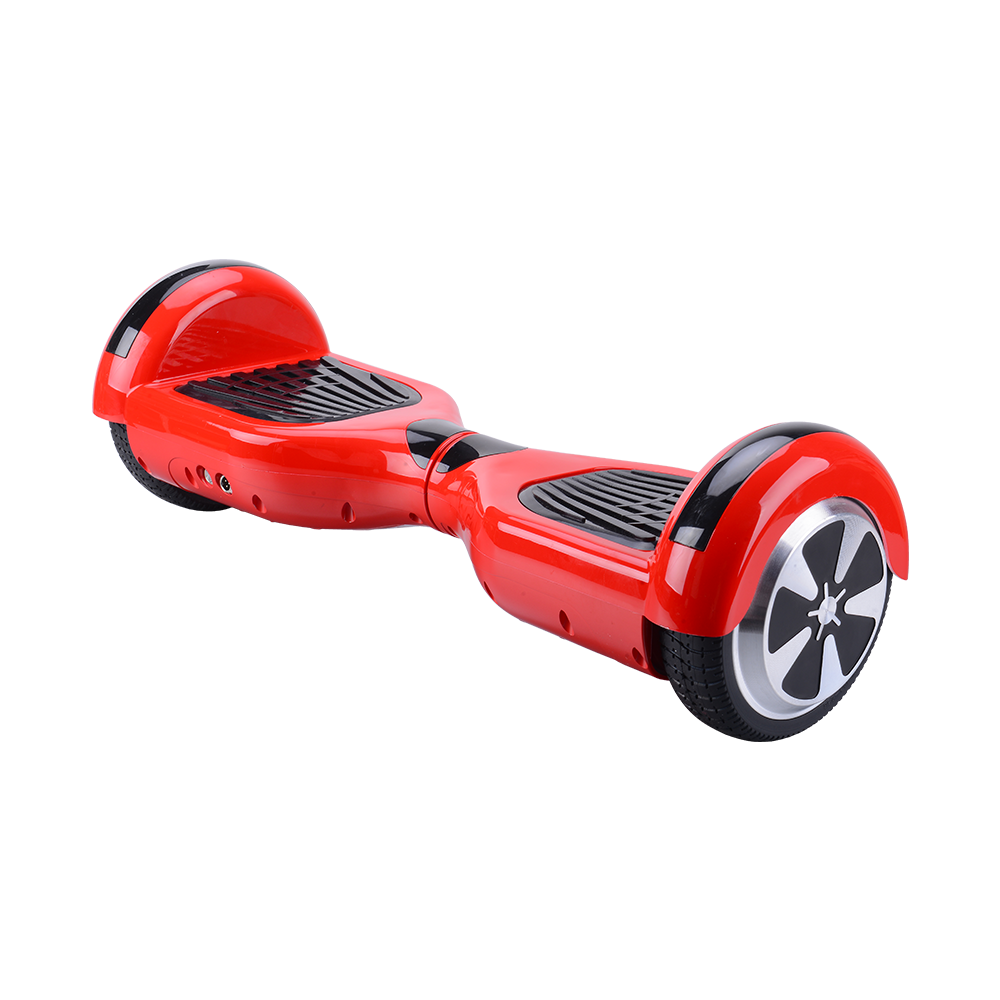
About the Off-Road Hoverboard
The hoverboard is built to handle smooth surfaces in which riding on the board on gravel roads will damage the hoverboard sensors.
- The all-new 6.5″ wheels hoverboard is a two-wheel electric device that is purely operated by your feet.
- The hoverboard has an internal gyrostabilizer to ensure an easy-to-learn riding experience.
- Use subtle body shifts, to move forward, backward, make turns and even rotate 360 degrees around your axis!
- With a sleek modern design the hoverboard is great for indoor and outdoor fun.
6.5″ Hoverboard Specifications
| Size: | 599*206*185mm |
| Platform: | 118mm |
| Ground: | 28mm |
| Tire Size: | 6.5″ |
| Ingress Protection: | IP54 |
| Net Weight: | 10.5 KG |
| Gross Weight: | 13 KG |
| Packaging Size (mm): | 680*240*230 |
| Color: | Red |
| Package: | Color Box |
| Motor Power: | 350W x2 |
| Battery: | Li-ion Battery 36V 4.4ah |
| Max Speed: | 10Km/h |
| Max Climbing Limit: | 15˚ |
| Max Loading: | 100KG |
| Charging Power: | AC100-240V/50-60Hz |
| Charging Time: | 2-3H |
| Range: | 15-20Km |
| Operating Temp: | -15˚C ~ 50˚C |
| Mini- Turning Radius: | 360˚ |
8.5 Inch Off-Road Self Balancing Hoverboard
8.5 Off-Road Self Balancing Hoverboard – All Terrain | off-road hoverboards
Self Balancing Hoverboard Features:
The 8.5 Inch Off-road is built to handle gravel surfaces that makes it very hard to have a smooth ride on a normal hoverboard.
Designed with a strong body to protect the sensors during heavy gravel ride experience, you can rest assured that the board will last longer when compared to the normally smooth surface hoverboard.
The all-new 8.8 Inch wheels off-road hoverboard is a two-wheel electric device that is purely operated by your feet.
The hoverboard has an internal gyrostabilizer to ensure an easy-to-learn riding experience.
Use subtle body shifts, to move forward, backward, make turns and even rotate 360 degrees around your axis!
With a sleek modern design, the hoverboard is great for indoor and outdoor fun.
Convenient
Weighing only 10kg, the Hoverboard is small, light and easy to operate.With superior stabilization and fine-tuned instantaneous control, you will be able to comfortably drive and easily man-oeuvre around bends and turns.
High quality
The Hoverboard is not only smart and easy to operate it is also durable and strong.
Safe
It has increased safety elements to provide more safety such as the electricity powers off as soon as control is lost. With the smart battery management system, you are ensured safe, stable driving.
8.5 Off-road Hoverboard Specifications:
Size: 70 x 22 x 23 cm
Platform: 118 mm
Ground: 38 mm
Tire Size: 8.5 Inch
Ingress Protection: IP54
Net Weight: 14 KG
Gross Weight: 16.5 KG
Packaging Size: 77 x 32 x 29 cm
Colour: Black
Package: Color Box
Motor Power: 700W(350W x 2)
Battery: 36V 4.4AH(Lithium-Ion Battery)
Max Speed: 15Km/h
Max Loading: 100KG
Charging Power: AC110-220V 50-60Hz
Charging Time: 1-2H
Range: 20km
Operating Temp: -15C ~ 50C
Mini- Turning Radius: 360?
Water-resistant: IPX4 Certified
Frame Material: Aluminum with Plastic Components
Lights: Dual LED Headlights
8.5 Off-Road Self Balancing Hoverboard
What’s in the box
1 x Hoverboard
1 x Charger
1 x Manual
Self Balancing Hoverboard Calibration Instruction
Put the off-road hoverboards on a flat surface, making sure that it is level. Whatever level you set it at, is the level that you’ll it will be calibrated for.
Make sure the hoverboard is completely off. This means that it needs to be shut off by the silver power button, not put into sleep mode by the remote.
Once the hoverboard is level, press and hold the silver power button for 5 seconds until you hear a beep.
The front / top (depends on model) and indicator LED lights will flash. Let the self balancing hoverboard sit like this for 30 seconds.
After 30 seconds has passed, press the silver power button once again and shut the hoverboard off and on again
Enabling Hoverboard Bluetooth:
- Switch the Hoverboard on (the hoverboard must stay on throughout the connection process.)
- Go into the Bluetooth settings on your Bluetooth device (Cell phone Android/IOS)
- Search for devices
- The hoverboard connection should then appear on your device as a new device.
- Click on the hoverboard to start connection.
- As soon as it is connected it will appear on your device
- You can now play music from your Music playlist and the sound will reflect upon the hoverboard.
Safety tips for your hoverboard
You don’t want to jump on your hoverboard unprepared. Before you get moving, make sure you have some necessary safety gear. The following items are recommended.
-
Helmet
-
Wrist guards
-
Knee pads
-
Elbow pads
-
Tailbone protector
Properly provisioning yourself can help you avoid injury. Keep in mind that most of these devices are capable of traveling 8 to 10 miles per hour. While these are not terribly impressive speeds for a car, they can be tremendously dangerous on a hoverboard.
It is important that you wear gear to keep all your body parts protected. Once you are all geared up, get on your hoverboard and get ready for the next step!
Riding an off-road hoverboards
Now you’re ready to ride. Put down your hoverboard and take heed of the following steps.
-
Place your hoverboard on an even surface directly in front of you.
-
Step onto the hoverboard with one foot (whichever is most comfortable for you).
Make sure that the board is flat. It can be tricky to mount because the board begins moving as soon as it detects pressure.
-
Step up onto the board with the other foot.
Try and position your feet as far apart as possible. This stance will give you the most control.
Stand up straight and look forward. You will likely feel a little awkward at first and may even tense up. Just try to relax and concentrate on standing as normally as possible.
Congratulations! You have successfully mounted your hoverboard.
The next step is to get you moving. This requires leaning or gentle shifts of weight by pivoting your ankle up and down.
Be aware as you start out on your hoverboard. While leaning is necessary to move, you only want to make small shifts in your weight. If you lean too far, you can and will fall off your board.
Here are a few tips for moving:
-
Moving forward and backward: Slightly lean forward. Do not bend at the waist. The movement will be mostly in your ankles.
-
Turning: To turn your hoverboard, you will push your toes forward.
-
To turn left, push down your right toes.
-
To turn right, push down your left toes.
The farther down you push your toes, the more sharply you will turn. For sharper turns, you may even want to push down the toes on one foot, while simultaneously pushing down the heel of the opposite foot. With enough practice, you can eventually use this technique to spin in a circle.
-
When you have finished riding, dismount by performing the steps of mounting in reverse.
-
Shift your weight to your dominant foot.
-
Step down with your other foot.
Avoid jumping off of your off-road hoverboards.
Many riders find that the most difficult part of learning to ride a hoverboard is the process of mounting and dismounting. Keep practicing. Encourage yourself to calmly step up and down as though you were climbing up or down a set of stairs.
How to replace Self Balancing Hoverboard Batteries
‘m just going to show you how to take a battery out and replace it out of any hoverboard. The first thing you want to do is find the side that has the power button and the charger button, and you want to pick the opposite side.
So this one has two holes on it because I’ve got a fresh case to make it faster, but the opposite side is the one with the battery. So you’re going to unscrew all of these, there are 8 screws right here.
So if you happen to have a serial number label or something here, just peel it back or peel it off and you can access the screw.
All you need is a Philips head screwdriver. I use a power drill because I do this professionally. Take this off and right here is where you’re going to see your battery. This big blue pack here, that is shrink wrap over a bunch of lithium ion battery cells.
What you’re going to do is, some of these will have hot glue, some won’t. Pull that off, you’re going to undo it by pinching this little clasp and pulling it like that. Then you going to go counter-clockwise on these screws here on the battery cage. There’s four of them.
Once you get those off on Self Balancing Hoverboard, all you have to do is pull the battery cage up, put it to the side. You’re either going to have these either strung above or below it.
You’re going to pull these apart, and you can usually leave these three green ones with the green covers on it, you can usually leave that there. This goes from your motherboard to your motor.
What you’re going to do is just slide your battery out. You’re going to disconnect it, and when you reconnect it, its actually easies to take your cage here and slide it back in together like this. That is what we are going to do.
Everything here is magnetic so I just pickup my screws from before. Line this battery cage up, turn your screwdriver to clockwise so you can start drilling in, righty tighty lefty loosey as they say. Drill it in like that.
Don’t make it too tight. If you make it too tight you’re going to break the plastic on the battery cage. Look for your clamps again, and you can plug these in either on top of the cage of below the cage, its all preference. Plug them back in. They only fit one direction, so if it fits, you’re good.
After you’re done with all that, put the cover back on. You’ve got the sheet metal screws that go on the outside, and the machine screws that go into the center 5 holes right here.
So basically that’s all there is to doing a Off-Road Self Balancing Hoverboard battery cage. If you need any more help, check out our hoverboard YouTube channel, check out our other videos, or shoot us an email. We can make videos for whatever you need.
Take care!


Reviews
There are no reviews yet.